Nice to meet you !
What this is all about ?
FullPunish is a training robot capable of pressing keyboard keys. If you give him access to the keyboard, and setup your game so one character can be controlled by this same keyboard, you have a training buddy.
The way FullPunish works is pretty simple. The core mechanic can be defined as follow :
- FullPunish can read combo scripts. It will translate scripts into button presses;
- It starts as soon as it detects a predefined trigger on your controller and then read and execute a script;
- FullPunish is a big form that is designed to help you build these scripts without writing anything yourself.
This is madness, what exactly can I do with this ?
The idea behind this tool is to be able to practice, for real, while alone. If you already tried to learn, let's say, safe jumps with the default training possibilities, you are probably a master of the record feature, but not so much in timing your safe jumps right. The record feature is good enough to test if something works, but you are not learning anything if you don't repeat your safe jump yourself instead of watching the playback.
So let FullPunish handle the hard work with the Dummy, while you focus on getting better.
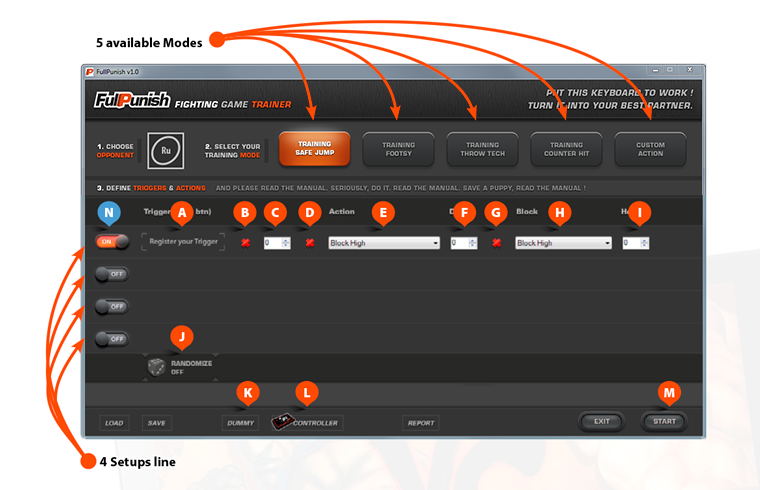
ATrigger : Detects the combination you hold on the controller, (direction + button) and displays it. Straight UP or DOWN isn't allowed !
BSwap left/right : Swap forward/backwards inputs with left/right in the input scripts.
CDelay 1 : Knock down frame advantage.
DRise : Produce quick rise or delayed wake up inputs.
EAction : List of moves.
FDelay 2 : Action recovery time if needed.
GSwap left/right : Swap forward/backwards inputs with left/right in the input scripts.
HBlock : List of moves.
IHold : Keep some Block moves held down several frames. For block and jump type moves.
JRandomize : Hook any activated setup to the first Trigger. Trigger now will pick a Setup randomly.
KDummy : Dummy's keyboard mapping setting window. Must match in-game keyboard mapping. Can not use special chars !
LController : Controller setting window. Used to match your buttons with the trigger display overlay.
MStart : Start listening to your controller’s inputs, waiting for the trigger to run your setup.
NSetups switches : Enable/Disable a sequence builder. Up to 4 different Setups can be controlled at a time.
FullPunish is a stand alone program. Unzip the archive you downloaded, somewhere you like. Done !
FullPunish doesn't need Admin priviledges, UNLESS you ran Steam as Admin. If so you have to right click FullPunish exe file and choose "open as Administrator", everytime you use it.
Five different modes
Training Safe Jump
This mode is the main reason I created this application. As it says, it’s purpose is to assist you training your wake up pressure. Against soft knock down, hard knock down, quick rise and delayed wake up. It’s also a killer to find and practice unblockables compared to the old record method. (As you can avoid the AI “holy block everything” effect. On Trial mode, the move list is quite small. Registered users get the full move list for every character.
Footsy training
A simple mode to test you pokes, counter pokes, and anti air reactions. In this mode the opponent do the footsy dance and randomly stop to throw a move you selected before. If you active several Setups and active the Randomize option, the dummy will randomly stop dancing to do a move, but also randomly switch between the moves you selected. On Trial mode, the move list is quite small. Registered users get a bigger list of moves, but can create the move they need anyway.
Throw tech training
This mode is godlike. Though not that useful for every character in the game as you can regroup several characters into a type of throw tech pressure and training against any one from that group will be enough to beat them all. Anyway, against Rufus, Cody, Dudley, Ryu, Claw, Blanka, and some other gimmicky throw game characters, you’ll freak out after the first 5 minutes in this mode. So in this mode your selected opponent will attack you and try to tick throw you and frame trap you. All you have to do is set a trigger, select the pressure sequence you want the opponent to do, get in range, and press the trigger. Then try to escape the throw and frame trap. Find the right tech to use and don’t eat a counter hit !
Counter Hit training
This mode is the opposite of the Throw tech mode. Kind of. You have to build a Setup where the opponent will block your jump in and maybe a following low attack and then will try to tech your tick throw. Either by mashing crouch tech like crazy or with a slower pace and using different tech inputs, even back dashing or jump back. You won't really use several Setups at once with the Randomize option here. You have to train against one throw tech pattern at a time to master at least one counter perfectly. Thus here you’re fishing for counter hit. Plain and simple.
Custom training
This time it’s happy hour, Spring Break, Christmas and a bit of Death Valley all together as you have all the work to do by yourself. But hey ! you got full control ! This mode can reproduce exactly what other modes do. Because at the end, each mode create a sequence of inputs that ill be read by FullPunish and interpreted into keystrokes. The custom mode just happens to let you write such input sequences. Using the correct alphabet, there’s no limit in what you can do. Show off long combo to make combo videos, easy with FullPunish. Don’t forget to Save your hard work. You’ll have to go through a lot of try and errors to build a single working sequence/combo. Learn more about this inputs Alphabet in the next part.
First start, setting it up
Remember : Opponent should be set to HUMAN in training room, controlled by the correct keyboard.
Using the player 1 for Dummy lets you see his inputs and help you find issues.
Trial mode
Trial mode is the default mode available when starting up the first time. Trial mode is more a free way to test how FullPunish runs on your computer than a way to test the application's features. In this mode, FullPunish is nerfed to low tier. Restricted modes and almost no action available.
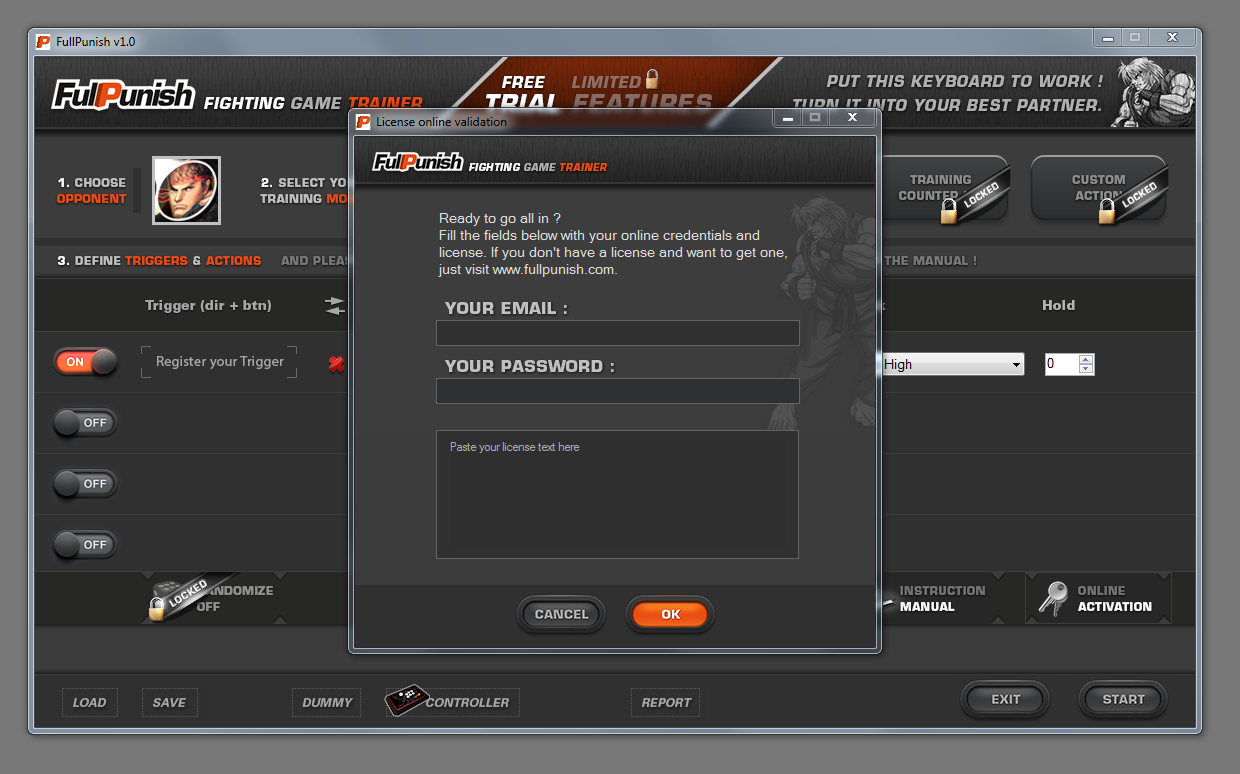
Registration, getting a license
To register and use the full version of FullPunish you need to buy a license. To do this, just create an account and check your Profile page. With the license data in hand, just launch FullPuish and submit the register form. You need to be connected at this point. And that's it.

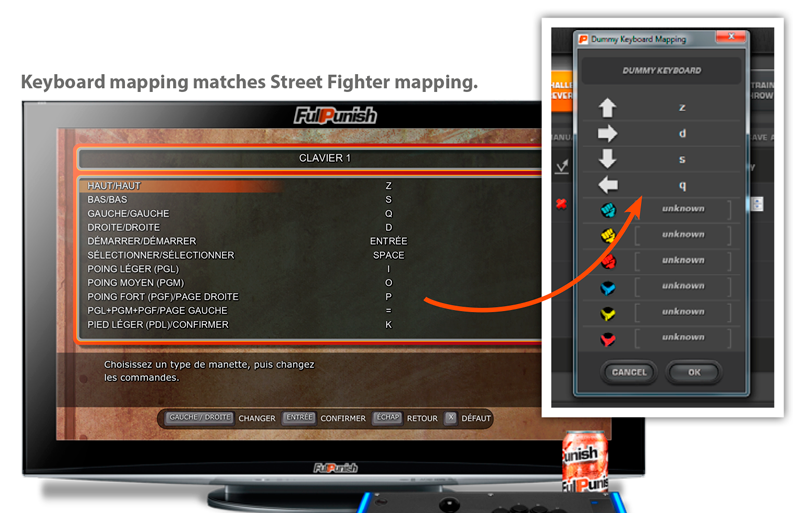
Settings panel, Dummy
FullPunish will use the keyboard to control a character. You need to have the same keys mapped for keyboard 1 ingame and in FullPunish. Use only letters / Arrows / NumPad num / top line num keys. You should not be able to register any other key anyway, but make sure that the keyboard mapping for the game you play is set the exact same now.
Then you can go in training, set the training action to "HUMAN", and upon escaping, assign the keyboard to the char FullPunish should control (player 1 or player 2) by pressing the Start key at the right time. And you're good to go.
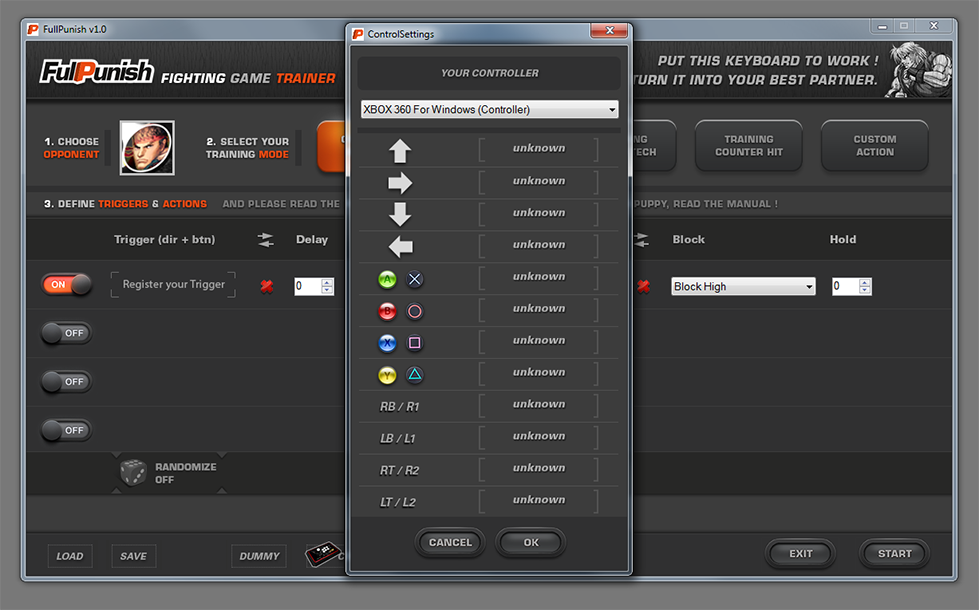
Setting panel, Controller
With this panel, FullPunish can register you controller, and understand where your buttons are, in order to display them correctly in the Trigger graphical representation. Just follow the button factory name that should still be printed next to each button on your controller.
Your first Setup
How to read a Setup ?
From left to right. The mandatory trigger (down back MK+HK in the picture). That’s the combination FullPunish waits to start pushing keyboard buttons. FullPunish will execute everything on the right of this trigger. You can't set a trigger that uses straight UP or DOWN.

The Setups sequences (Safe Jump mode)
1Right after the trigger, you can ask for a switch side. Usually not needed, but useful for back throw or straight cross up training.
2Next is the first delay. FullPunish will just pause for as many frames you ask. (and handle charge buffering if the next move is a charge move). This delay is the knock down frame advantage (usually around 80 frames).
3Next is the knock down tech, aka. the quick rise or delayed wake up command. When activated it splits the Knock down delay in two values. You’ll have to find the correct value/time for the dummy to input the tech (around 20 frames), and the resulting frame advantage before the reversal window.
4Next, the wake up move. Select the move you want from. If you set the previous delay correctly, it will be a reversal every time.
5Next, another delay. If you want to push further your training and add to your safe jump training the possibility to also train to punish a blocked reversal, it’s better to have the dummy try to block or back dash as soon as it lands and recovers. FullPunish doesn’t know when the recovery ends so you will have to set this delay yourself in order to make FullPunish input the following move (after the wake up move) at the right time. But don't worry about that for now.
6Next is another switch side option. In some occasions, a special move can cross up during it's animation. In this scenario, you can correct the dummy orientation using this check box.
7Next, the Block list. It’s in fact a bit more than just a list of block. You have dashes and jumps too.
8Finally a Hold option. It will be used by FullPunish only if you selected a block or jump to extend the duration of those inputs. Note : If you forgot to set the recovery delay of the wake up move, you can just set a huge number here to have FullPunish hold a block right after the end of the wake up move inputs.
FullPunish does not get any information from the Game. There is no way for it to know where you and the dummy are on the screen. So we had to set some rules in order to handle situations where you cross up or simply switch sides with your opponent. The main rule is, when registering triggers it’s always with You on the left (player 1 side) and the dummy on the right. Fullpunish will compare the trigger with the direction you actually hold on your stick at the time the trigger is detected. This rule allows Fullpunish to know if the dummy's forward is left or right, no matter where you are in the game.
After clicking on “Register your trigger” area, you have 5 seconds to input a direction + some buttons on your controller, and HOLD IT until the 5s timer end. This way if you want to register a combination of several buttons, you don't need to push them at same frame. You can do it slowly one by one as far as you hold them all down at the end of the timer.
Working examples
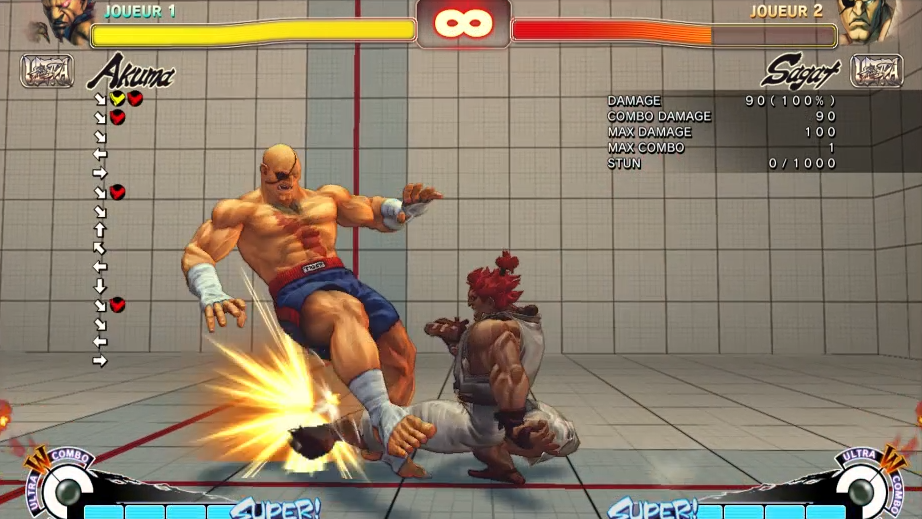
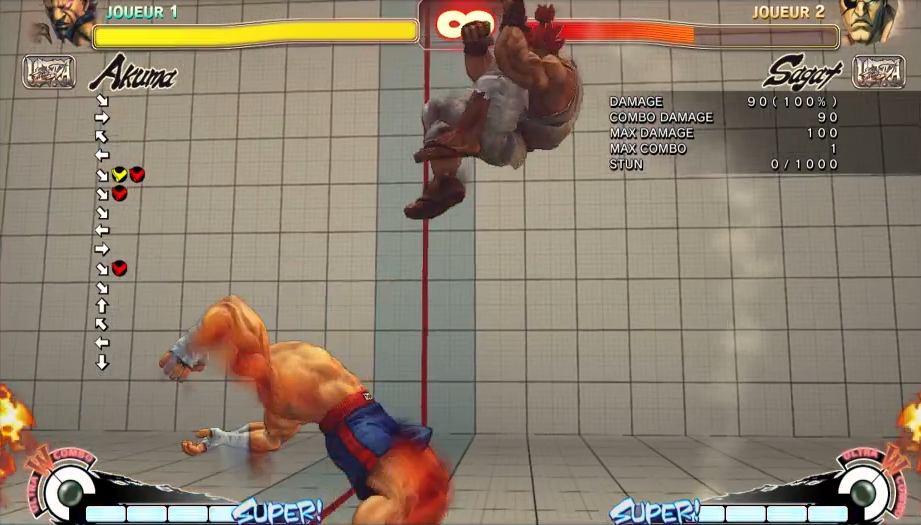
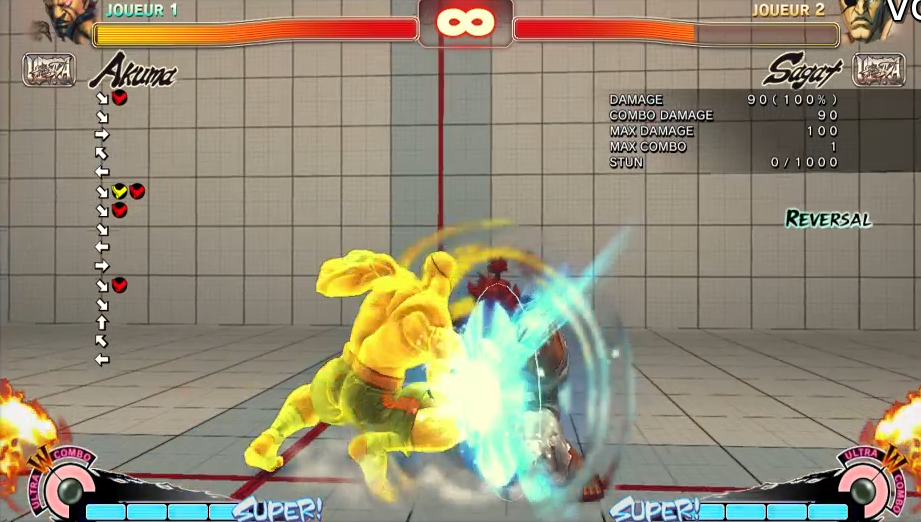
You are Akuma against Sagat. You want to train HK safe jump Option select sweep off a sweep against Sagat ex Tiger Uppercut, and practice your best punish in case of success.
Trigger would be : the combination of your choice that do a sweep.. Several combinations can do that. And that’s cool because you can define 4 different setups that all start with a sweep but will triggered only the corresponding Setup line.
Switch side : No.
Delay 1 : 82.
Knock down Tech : No.
Action : Tiger Uppercut Ex
Delay 2 : 48
Switch side : Yes (Sagat ex Uppercut crosses up on block.).
Block : Block low.
Hold : 36
Optional : Save this into a setup file. Next time, load it so you wont have to remember all the numbers.
Enhanced setups for the braves
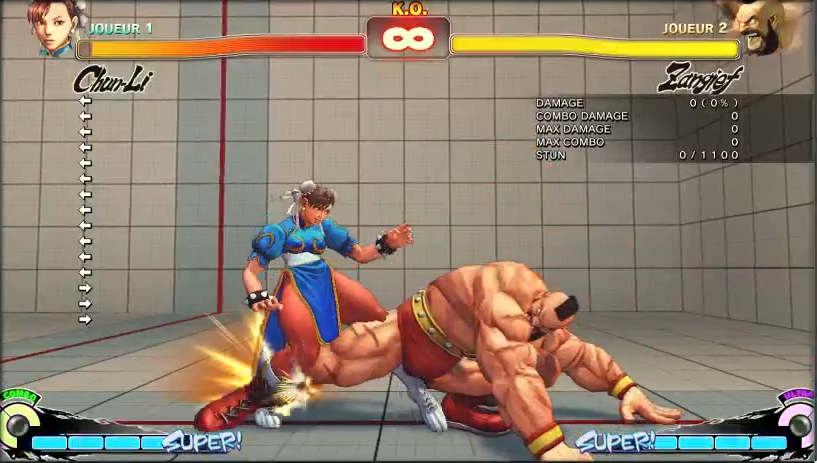
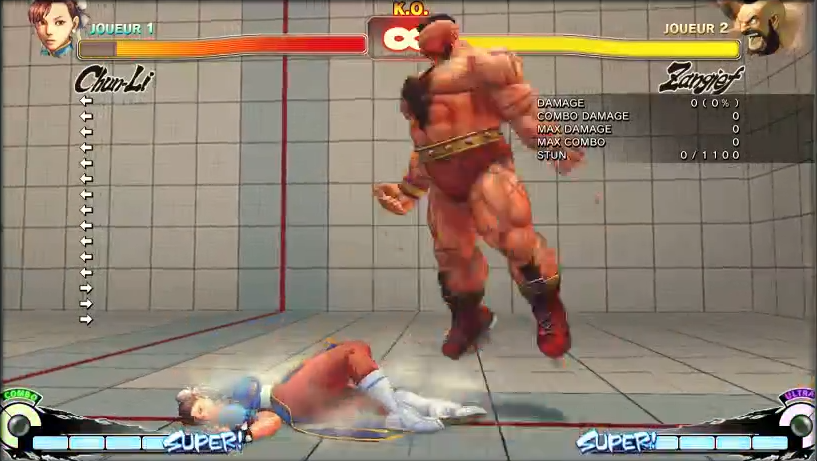
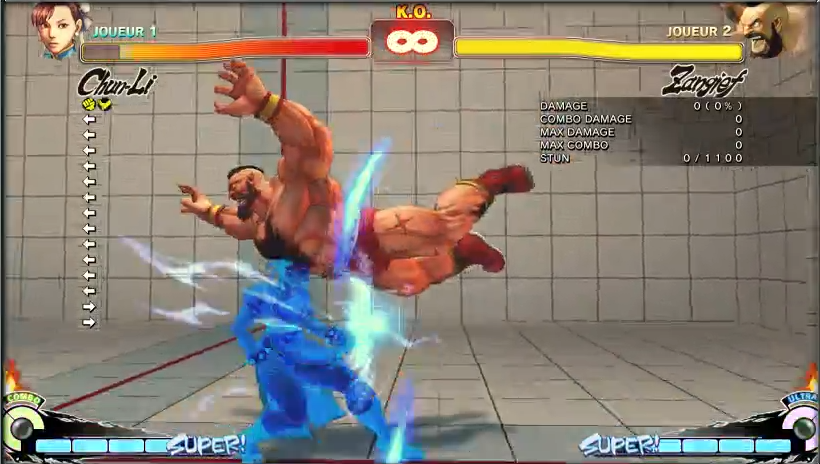
You use Zangief against Chun Li. Your game setup is forward sweep, jump in meaty Splash. And you want her to wake up either Blocking, Back dashing or reversal Bird Kick EX.
Setup 1 (line 1)
Trigger would be : Down forward HK + L2 (to be able to still push HK alone ingame without triggering the app by mistake)
Switch side : No.
Delay 1 : 84.
KDown Tech : No.
Action : Back dash.
Delay 2 : 10.
Switch side : No.
Block : Block low.
Hold : 40.
Setup 2 (line 2)
Trigger would be : none.
Switch side : No.
Delay 1 : 84.
KDown Tech : No.
Action : Spinning Bird Kick EX
Delay 2 : 38.
Switch side : No.
Block : Block low.
Hold : 43.
Setup 2 (line 2)
Trigger would be : none.
Switch side : No.
Delay 1 : 105. (post knock down delay differ if you use move that buffer, or not of course)
KDown Tech : No.
Action : Focus Back Dash
Delay 2 : 12.
Switch side : No.
Block : Block low.
Hold : 43.
RANDOMIZE : ON.
Randomize ON, make every setups react to a single trigger, the first one. FullPunish will just pick one randomely.
Save, load, back up data
Setting files
After the first launch, FullPunish creates two files to store dummy and controller settings. They'll be loaded at every startup.
Setups folder
After the first launch, FullPunish also creates an empty "Setup file" where it will store your futur saved Setups. A single file record the whole application data, not only the active mode. All 5 modes states are saved at once per file.
Custom folder
Registered user can create their own input sequences to complete the dropdown list in Footsy Mode and Throw tech Mode. As well as using the Custom Mode which gives full control over what the dummy presses but is also harder to use. These custom moves will be stored in separate files in this Custom folder. They can’t be moved somewhere else, or they just won't be seen and loaded to the move lists.
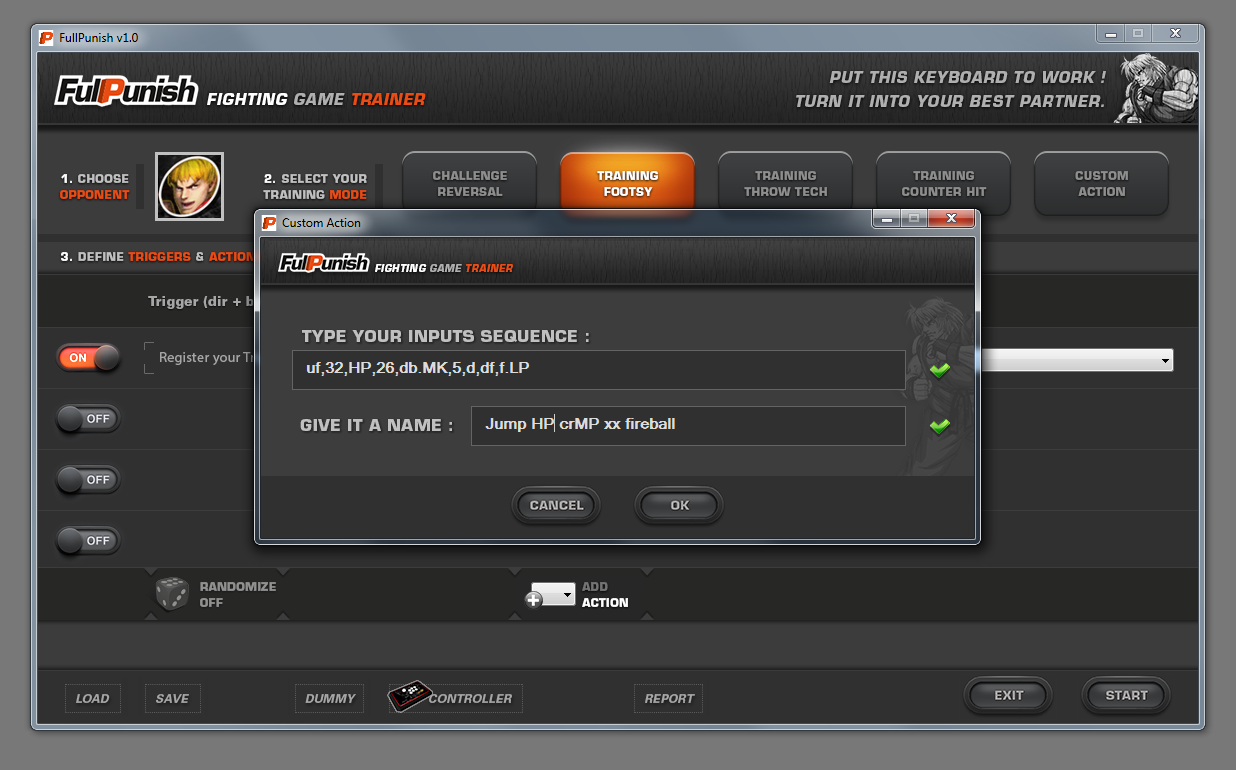
Adding custom actions
In certain modes you have the option to create your own action to add to the dropdown lists. These custom actions will be named and saved into separated files in the Custom folder. They will be loaded every time FullPunish starts.
Writing combos
FullPunish doesn’t "translate" short-coded combo (like forum notation) into working ingame imputs. It execute EXACTLY what you write down. In order to write a working sequence ending with the combo you had in mind, you need to work a bit harder than just writing a list of normals and direction. A script is more an straight description of the controller movements.
The core mechanics
A sequence consists of a string of inputs separated by commas, without spaces. After each commas the previous button pressed down is released. By default there’s one frame between each commas.
Available characters
Directions are lowercase : u (up), uf (up forward), f (forward), df (down forward), d (down), db (down back), b (back), ub (up back).
Normals are uppercase : LP (jab), MP (strong), HP (fierce), LK (short), MK (forward), HK (roundhouse).
Pauses : any integral number.
Other available characters
Brackets ( [ ) and ( ] ), commas ( , ), tilde ( ~ ), dashes ( - ), dot ( . ), ( N ).
Basic example
To do : Jump HK, cr.LP, cr.MP xx Fireball, you will write :
Advanced writing
Using the word hold. you can avoid the natural release of a button until the end of the string or until there’s an input that need this previous button to be released. This sounds like Chinese ? Ok…
In the previous “Basic example” there’s several crouching normals in a row. Why not press down back once, hold it, then hit LP, then MP and forget about it ? Well you can with hold. .
You write what your hands do naturally, so watch your hands, fingers. Imagine yourself doing the sequence on a Stick and everything should be ok to create a sequence.
Grouping inputs
Simple isn’t it ? Nope ? Hey you read this guide only once ! Let’s talk again in a couple days, will ya ?
Can you understand this one for Guile :
Switch side
If you end on the other side for some reasons in the middle of the combo or sequence you are writing for the dummy, you have 2 options.
The problem being that, at the start, FullPunish define forward (f) as “left” or “right”. So if in the middle of a sequence the orientation changes, forward (f) becomes backward. Thus you can either keep writing the end of the combo or sequence with that in mind, switching every (f) by (b), (db) by (df), etc.
But you also can use the keyword switchside.
It will do the job just fine and then, you can keep writing forward (f) and backward (b) as you mean it no matter your location.
It’s easier this way to read the sequence I think. A nice addition I thought would be handy.
Enjoy and stay free !
I hope you’ll enjoy this tool and all the hard work I put into this thing the last couple years.
If you experience anything bad, bugs, missing features, please let me know.
You can send reports to us with the build in Report feature. We try to answer as fast as we can. And we release patches within hours.